Learn how to resurface a deck

Outdoor living season means backyard barbecues, yard games and relaxing with a good book or good friends. If you own a wood deck, however, it also means considerable time and money spent on seasonal maintenance and deck repairs.
While wood decks are aesthetically pleasing, properly maintaining them requires regular stripping, sanding and staining. The process is labor-intensive, time-consuming, messy and costly — averaging between $540 and $1,050 each time, according to homeadvisor.com.

Consider this: For the same time and energy you would spend maintaining and repairing those old wood boards, you could replace them with a deck made of structurally superior composite material — and never again have to worry about upkeep. As long as the structural framework of your existing deck is intact and in good condition, you are a candidate for deck resurfacing.
“Resurfacing an aging or decaying wood deck with new composite decking is a doable DIY project that can be completed over the course of a weekend or two with just a little know-how and the help of a few friends,” explains Adam Zambanini, vice president of marketing for Trex Co. “You get a brand-new deck for a lot less money than starting from scratch — and a lot less hassle through the years.”
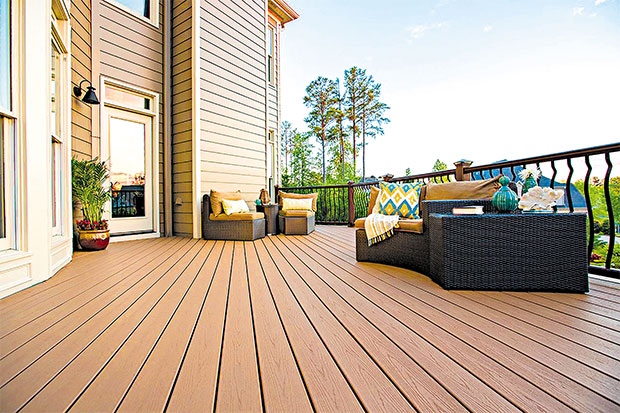
Designed for maximum durability and minimal maintenance, wood-alternative decking is resistant to fading, staining, scratching and mold and requires no sanding, staining or sealing.
Just an occasional soap-and-water cleaning is needed to retain a “like-new” appearance for decades.
READY TO RESURFACE?
Follow these simple steps to a new deck surface that you can spend less time maintaining and more time enjoying:
STEP 1: EXAMINE THE SUBSTRUCTURE
Before removing any boards, check your deck’s foundation. Start from the ground up by examining the footings, posts and joists. Pay close attention to the condition of the wood. Soft wood indicates rot and should be replaced before proceeding. If the existing framing and substructure are sound, you’re good to go.
Tip: To help ensure your substructure lasts as long as your new composite deck boards, use a protective tape, such as TrexProtect, to shield wooden joists and beams from moisture that can lead to rot and the loosening of deck screws and fasteners.
STEP 2: REMOVE OLD DECK BOARDS
Remove existing railing and pry up the nailed decking boards, leaving the substructure and framing in place. Start from the outside and move toward the house so you have a solid, safe platform from which to work.
STEP 3: LEVEL IT OUT
To ensure a level surface for the new deck boards, make sure the joists are flat and even with one another. If anyjoistsarebowed,youmay need to plane or cut them.
STEP 4: INSTALL NEW DECK BOARDS
Begin laying out the new composite boards. Starting near the house, face screw the first board to the frame. Closelyfollowtheinstructions for spacing from the manufacturer’s installation guide. Check the spacing between the house and the deck boards to make sure they stay parallel with the house. Correct variations a little at a time over several rows to avoid large, tapered gaps.
STEP 5: COMPLETE WITH RAILING
Measure for each post location, and cut placement holes with a jigsaw.
Then, drop the posts into the holes and bolt them securely. Slide sleeves over the posts and assemble railing and balusters per the installation guide.
Finish off by adding your choice of decorative elements, such as post caps and top rail caps.
For more guidance on deck resurfacing, watch a step-by-step video from Trex at youtu.be/ZI8CYwI0MYM.
This article is courtesy of Brandpoint.