Grow a lush garden anywhere
The benefits from gardening are endless — relaxation, fitness, family fun, delicious food and beautifying your lawn. Millions of people live in townhomes, apartments or single-family homes that seem to lack the outdoor space needed for a conventional garden. But no matter where you live, you can still create a garden that reflects your goals and is uniquely personal to you.
Raised bed gardens may be the perfect solution. This type of gardening can be adjusted to fit any size requirement, and is prone to fewer weeds, reduced soil erosion, and soil challenges that can arise in areas where the ground is inherently sandy or clay-based.
They also offer the opportunity to customize a garden bed with beautiful accents and decorations that will make it look as amazing as the food it produces.
Here are steps for starting a raised garden bed.
STEP 1: PREP YOUR SPACE
Raised garden beds can be bought or built to fill whatever space you have available. Select a bed that works well with your space and prepare accordingly.
STEP 2: CHOOSE SOIL
Once you have your empty bed ready, choose your soil. Nature’s Care Raised Bed Soil is ideal as this soil is specifically formulated with rich organic matter and high-quality nutrients that help give your plants the benefits they need with no mixing required.
Once you add the soil, be sure to rake it so it is smooth and level.
STEP 3: PREPARE THE BED
Next, you can finalize what you want to plant. Spacing is essential here, and you want to remember to place your plants close together for maximum yield.
Bonnie Plants provides a number of delicious and colorful options, including basil, tomato, kale, hot peppers and more.
STEP 4: PLANTING
Since plant spacing varies by plant type, read the back of the plant tag for proper plant spacing.
STEP 5: FEED PLANTS
Once your veggies and herbs are planted, apply a fertilizer such as Nature’s Care Organic & Natural Raised Bed Plant Food to add essential nutrients to the soil and help your plants grow big and strong.
Simply sprinkle and work into the soil, then treat your plants to water.
Just like us, plants get hungry, so make sure you follow the directions on the label to determine when to reapply.
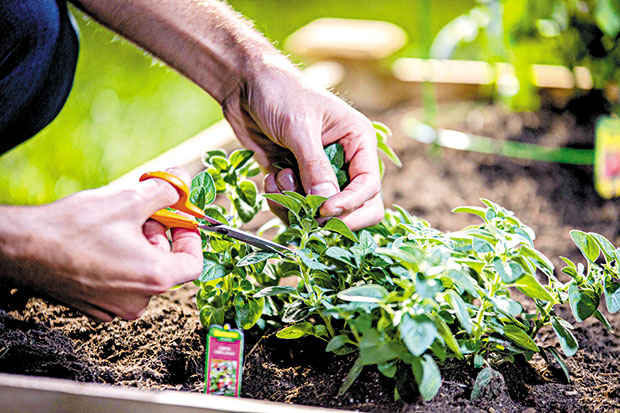
STEP 6: HARVEST
When your vegetables are ripe, it’s time to harvest. All you need to do is rinse and then you are ready to enjoy your favorite recipe.
For more information on growing in a raised bed garden and other tips and tricks, visit naturescare.com.
This article is courtesy of Brandpoint.