Getting the hang of the fern mount
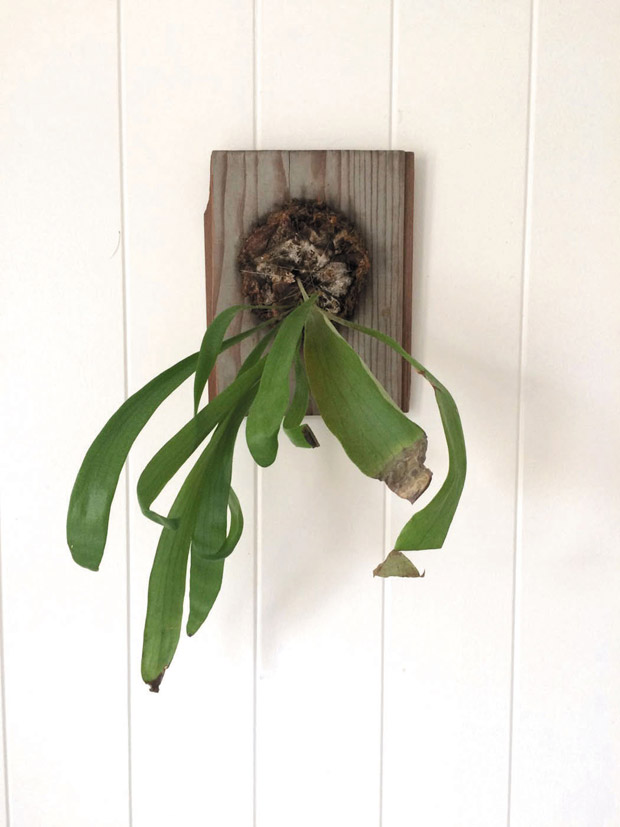
PHOTO BY JENNY DE JESUS
Since then, I have noticed the ferns popping up in home magazines, blogs, and even in hip restaurants and yoga studios. You can buy them mounted and ready to hang or, if you’re creative like Jenny, you can mount some yourself.
First, collect your materials. You will need a staghorn fern, a flat piece of wood for mounting, a bag of green sheet moss, a hammer, a handful of nails, twine or fishing line and one to two D-ring picture hangers with small screws. You will also need a pencil and a round object for tracing, such as a large bowl that is about an inch wider than the plant all around.
On the back of the wood, set the picture hangers using the small screws. Depending on the size and weight of your piece, you may want to use two hangers instead one. Then, flip the wood over and trace a circle using the bowl and pencil.
Hammer the nails all around the circumference of the circle. The larger the circle, the more nails you will need. Then, take your fern and prep the roots by loosening and pruning them a bit. Finish off by watering it one more time before setting it in the center of the circle.
Next, tear pieces of the sheet moss and give them a quick dip in water to dampen. Press them around the base of the plant and make sure to stay within the circle as you go. The moss will hold in the dirt around the plant, so wrap it around nicely.
Take your twine or fishing line. Wrap and knot one end around a nail head. Then, pull the string over the plant base and knot it around a nail on the opposite side, pulling the string taut. Repeat this process with the other nails, going all around the circle. Periodically lift to test that your plant is secure, and add more string as needed. Once secure, it is ready for hanging.
Have a question or comment for Joanne? Email her at thefixisinhawaii@gmail.com.