How to Add a Touch of Texture
When it comes to walls, I’ve always loved the look of wallpaper and texture, although I thought that I was limited to paint for fear of committing to something more permanent. But it turns out you can install removable fabric wall coverings. Here’s how:
First, measure your wall. Then, gather your supplies: a lightweight fabric (purchase enough to give you a few extra inches all around), fabric starch, a paint roller, a paint pan, a razor knife and a friend to help. Lightweight cotton works well and is relatively inexpensive.
Prep your fabric. If you use lightweight cotton, wash it first to help prevent bleeding. Then, clean the wall thoroughly. Next, pour the starch into a paint pan, and roll it onto the top half of the wall for your first panel.
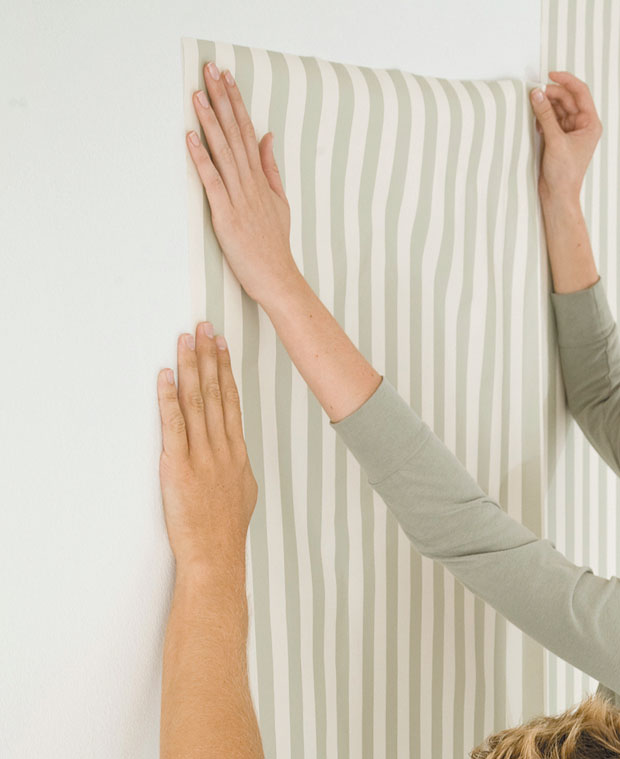
Press the fabric onto the wall, making sure to leave an inch or two at the top and on the sides for trimming later. Hold it in place with pushpins while you work on the rest of the wall. Work your way down, adding starch as needed with your paint roller. Remember to leave a couple of inches at the bottom for trimming, too.
Once the wall is covered, apply starch gradually to the top of the fabric, working your way to cover the whole surface. Press out any bubbles or wrinkles as you go.
Repeat this process for any additional panels. When it is completely dry, go in with your razor knife and trim the excess.
To remove, simply peel it off, starting at a corner and working your way across, panel by panel. If needed, apply water to help loosen the fabric.
Have a comment or question for Joanne? Email thefixisinhawaii@gmail.com.