Wood-n’t It Be Nice
Revive your wood furniture with a fresh look, even when on a budget, by brushing up on your paint skills
One month into my engagement, and I’m knee deep in wedding plans. My fiancé, Scott, and I have a set an audacious date for next summer (giving us less than a year to get everything together). It’s a lot to take on, but I thrive under pressure. I am making quick, though not brash, decisions and am quickly figuring out where my priorities lie.
I’m also figuring out that throwing a wedding is an expensive venture. Adjusting my budget has become an almost daily occurrence, and cutting corners in life outside the wedding will be a necessity. Instead of buying that new nightstand I’ve needed, I’m going to have to get creative.
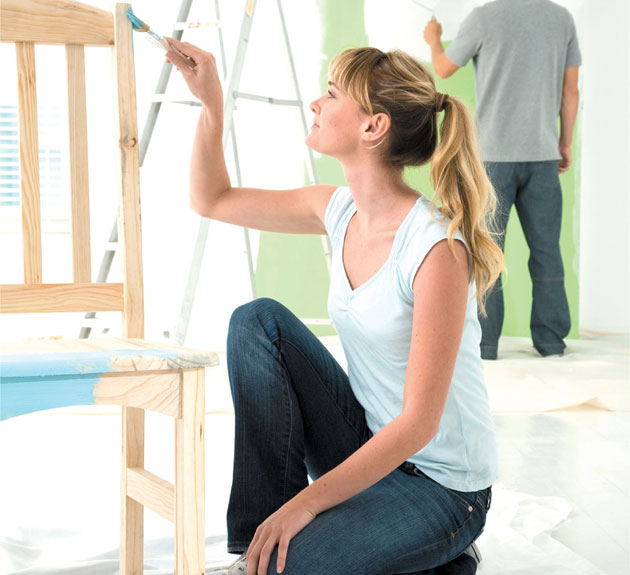
Painting wooden furniture is a great way to add new life to an old piece (at a fraction of the cost). But believe it or not, there is a right and wrong way to do it. Stay on the safe side by following these tips.
1. Start with a clean slate. Use a paint stripper and chip brush to strip off any remaining paint on the piece before you start. Follow manufacturer instructions and keep in mind that you may have to repeat the cycle several times to get it all off. Once the paint is off, sand it with an electric sander. Then, wipe it down to remove any residual dust.
2. Get ready to paint. Tape off any areas that don’t need painting, such as hinges and hardware. Then, apply a thin coat of primer. Pay attention to the type of primer you buy. Some primers are made specifically for certain types of wood, while others are made for darker or lighter paint colors. Let it dry. Sand down any areas that need smoothing and prime again.
3. Paint. Once the surface is dry, you are ready to paint. Use paint suitable for wooden furniture (assuming that’s what you’re working with) and pay attention to whether it’s made for interior or exterior use. Apply thin coats until you achieve your desired look. Remember to allow the paint to dry in between coats.
4. Protect it. Wait 24 hours to ensure the piece is completely dry. Then, wipe it down to remove any dust particles on the surface. Apply light, even coats of clear protective paint to finish it off. Follow manufacturer instructions, which may tell you to lightly sand the piece with fine paper in between coats. If you prefer a matte finish, you may opt to skip this last step.
Have a comment or question for Joanne? Email thefixisinhawaii@gmail.com.