You’re never too old to antique your furniture
It’s amazing to me how much my taste has changed over the years. When it comes to food, my taste buds have adjusted and things I used to snicker at, such as olives and pickles, are now appealing. When it comes to the home, my taste has gone from, “It’s expensive so it must be nice,” to appreciating simplicity and items with a story to tell. I prefer historical homes and plantation cottages over McMansions and over-the-top abodes, and I choose function over style (although something with both always wins).
I’ve learned to take my time in filling a home and not to settle for things I don’t love. I’ve learned that if something comes a certain way, it doesn’t mean it needs to remain that way. Classified-ad finds can be just as treasured as a brand-new item from an expensive retailer. If an antique item is too expensive, it takes just a little bit of time and patience to fake it and make one yourself.
First, start by roughing up your piece of furniture with medium-grit sandpaper. Wipe it down to remove any dust or debris left behind, and then apply an oil-based primer. When it’s dry, use a paintbrush to apply a base coat of paint in the color of your choice. Satin finishes work well. Allow the paint to dry overnight.
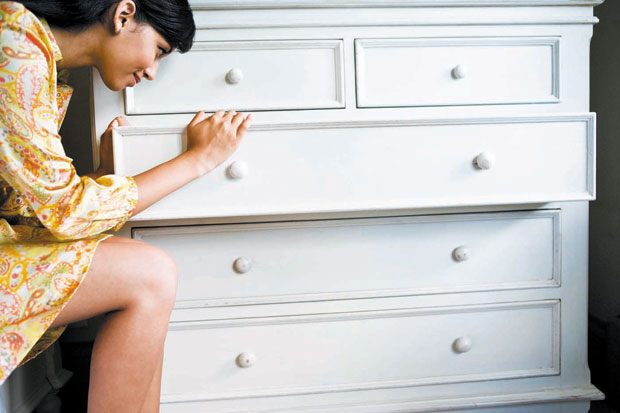
Next, use medium- and fine-grit sandpaper to distress the piece. Think about what areas might get the most contact if the piece was around for years, such as corners, and start there. Try not to go too overboard with the sanding. Alternate between the medium-and fine-grit sandpaper to create different levels of distress. Wipe the piece down with a damp cloth again to remove any dust and debris.
You can stop here, or you can add more character with an antiquing glaze. Brush it on with a natural-bristle brush. Before it’s dry, wipe it with a slightly damp cloth. Wipe as much or as little as you like. Let it dry completely, and then you’re done.
It’s hard to go wrong with this technique because flaws add character. Just remember to start small, perhaps with a picture frame, before working your way up to larger pieces. You might even want to test this out on some pieces of wood before moving on to furniture. If you are ever unsure of whether you will “ruin” a piece, err on the side of caution.
Have a comment or question for Joanne? Email her at thefixisinhawaii@gmail.com.