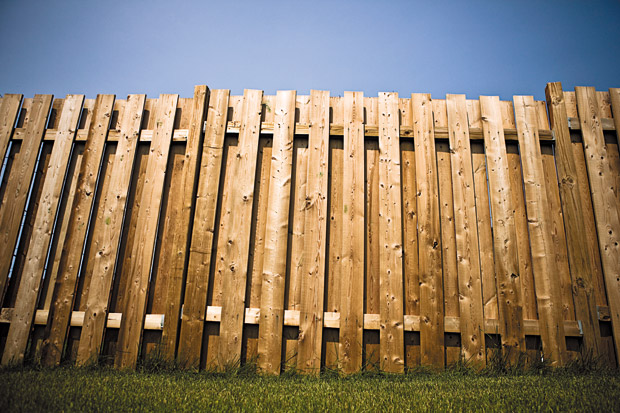
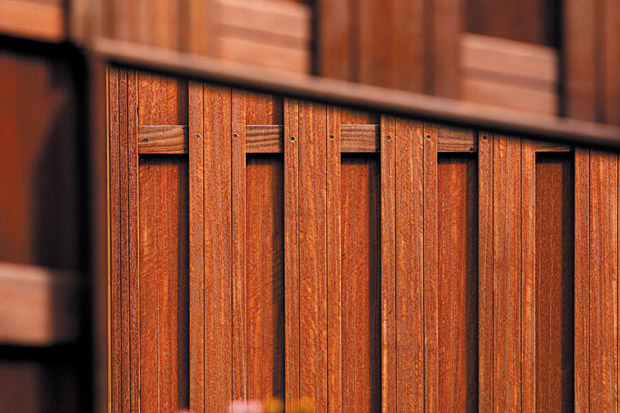
When my husband, Scott, and I first visited our home, what attracted us most was the stunning view of Diamond Head and the ocean beyond. What came in at a close second was the fenced yard. We enjoyed a fenced yard in our previous home, and we knew what a sanity saver it was with a dog and a toddler. With another baby on the way at the time, we quickly decided this was the right home for us.
The previous owners upgraded much of the home’s interior and exterior, and the fence was among the renovations. A few months and a couple of storms later, we realized that although the fence was new, its wood was raw and in need of some fi nishing touches.
It was time to stain the fence. Scott decided against a brush-on stain and opted for a spray-on stain instead. He based this decision on several things: One, we were not concerned with overspray. There is nothing along our fence line that could get damaged or that would require precision. Two, a spray stain application goes much quicker than brush-on. Three, because our fence was new, the preparation time was virtually non-existent. We did not have to worry about replacing damaged boards, fixing protruding nails or smoothing splintered surfaces. If you want to spray stain your fence as well, here’s how:
After fixing any damaged pieces, clean your fence thoroughly. Use a pressure washer, and allow the fence to dry completely before proceeding.
Then, pour the stain into your sprayer. The sprayer you choose should match the job. If you have a fence with a lot of square footage, use a backpack sprayer. If your fence is relatively small, you can get away with a standard sprayer. When filling, use funnels to make pouring easier and to minimize any spillage. You can also enlist the help of a friend.
Before spraying the stain, check the can for the recommended spray tip size. Use this size and turn the pressure down. This will help to minimize overspray. When applying, work from top to bottom, using slow and steady strokes. Move the sprayer along in one direction. When the spray weakens, re-pressurize the canister.
Have a friend follow close behind you with a paintbrush. He or she should keep an eye out for any drips and fill in any missing spots. Pay close attention to hard-to-reach areas, like corners. If desired, apply a second coat after allowing the first to dry thoroughly.
Have a comment or question for Joanne? Email thefixisinhawaii@gmail.com.


