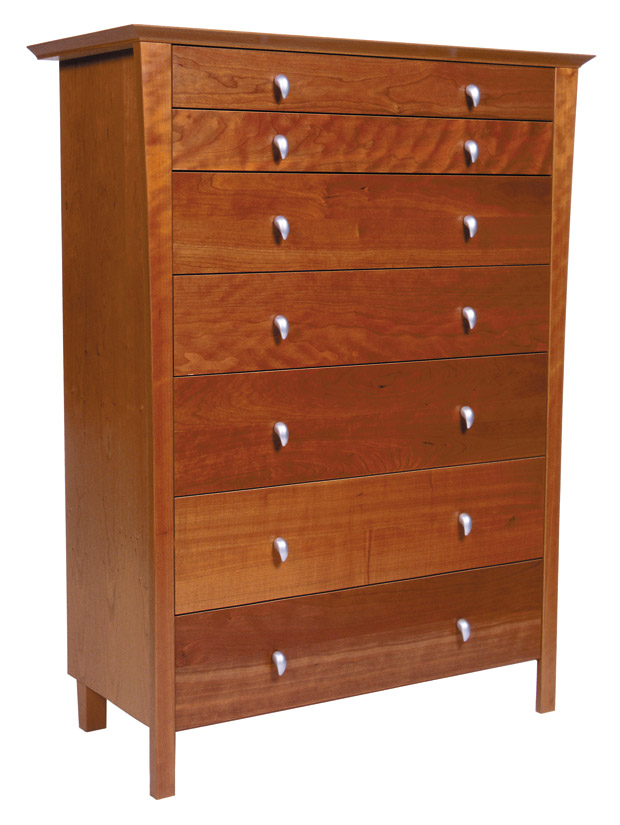
Fabric-covered dressers give off an expensive vibe, but you can cover a dresser yourself for little cost.
You’ll need: a measuring tape, fabric, clear acrylic sealer, tools for taking your dresser apart, sandpaper, adhesive spray, a small paint-brush, Mod Podge, a long metal skewer and scissors.
First, measure each section — the top, panels, legs, and drawer faces — you plan to cover separately. Add the measurements up, and then add about 7 inches for each section to account for wrapping around the edges.
Next, choose a fabric with a medium to tight weave that’ll hold up, but is thin enough to adhere and won’t interfere with the opening/ shutting mechanisms of the drawers. Wash and iron the fabric to start and test small areas with the sealer and adhesive to make sure it doesn’t damage the fabric. Then, spray both sides with the sealer and allow it to dry.
Use your tools to disassemble the dresser sections. Give those sections a light sanding and wipe them with a damp cloth. Cut the fabric according to your measurement, and cut notches where assembly holes will go.
Spray adhesive onto the dresser, one section at a time. Lay your fabric lightly over the adhesive and adjust accordingly to properly align. Press down and smooth it out. For the edges, spray some adhesive on a paper plate and paint onto the fabric with a small brush. Trim any excess fabric and tuck corners by folding small triangles before pushing down.
Use Mod Podge on the back of the sections to keep the edges from fraying and to hold it all in place. Allow everything to dry completely. Poke holes through the fabric where your hardware should go. Then, reassemble.
Have a comment or question? Email thefixisin@gmail.com.

