Perhaps it is related to my binge-watching home and garden television channels, but I truly enjoy visiting open houses. Seeing how others have outfitted their homes gives me ideas for what I can do with mine or what I can dream up for my future home. It is through visiting these homes that I have come to appreciate just how much tiny details can make a difference.
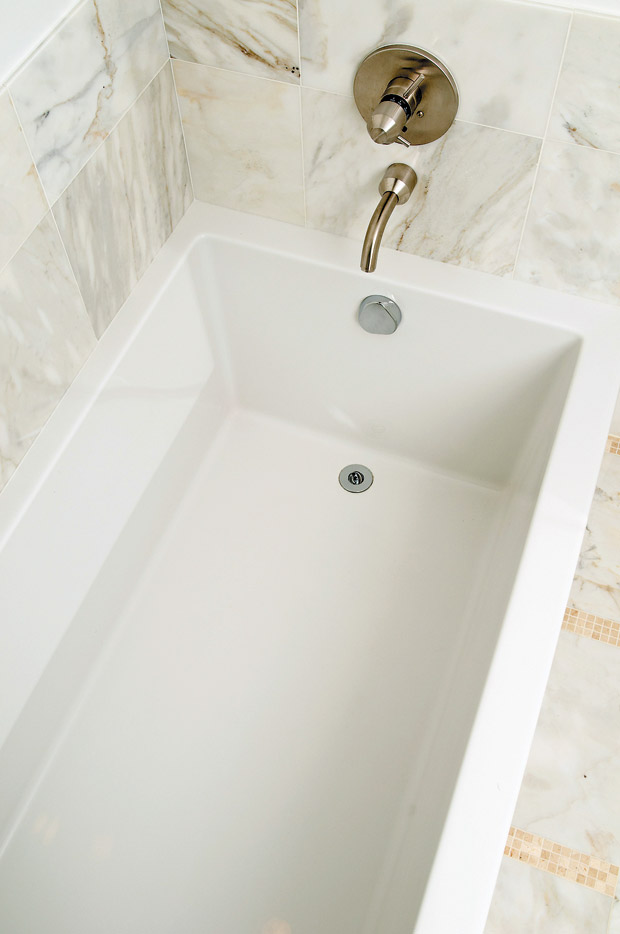
Bathrooms, for example, can seem pristine upon first glance. They can have counters free of dust and floors clear of debris. However, if the tub or shower has discolored caulking, it cancels out the clean everywhere else. Often, the only way to get the caulking truly clean again is to take it out and redo it. Re-caulking a tub or shower is a relatively inexpensive, easy way to make a big impact.
You’ll need: a utility knife, vacuum, paper towels, vinegar or rubbing alcohol, a caulk gun, bathroom caulk, and painter’s tape. Before you begin, fill the tub with water. The weight will help to expand the gaps, which should make this job easier. Plus, when it comes time to apply the new caulk, you will be able to get into the gaps better.
Next, use the utility knife to remove the existing caulk. Practice on an inconspicuous area to make sure you are not scratching the tub as you go. Work your way around, moving slowly and carefully. Vacuum up the debris, and then remove the residual with power towels soaked in vinegar or rubbing alcohol. Let the surface dry overnight. Moisture causes mold, so ensure that it is completely dry before proceeding.
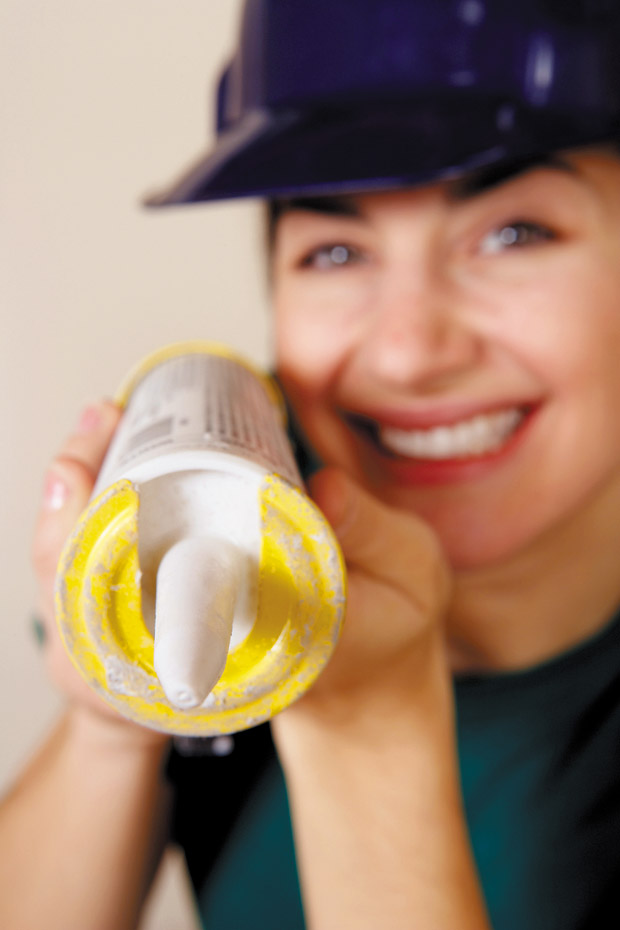
Use the painter’s tape to tape off the area you want to caulk. The area should end up being about the same size as the tip of the caulk when you apply it. Use your utility knife to cut the tip of the caulk at a 45-degree angle.
Load it into your caulk gun, and use the gun to activate the tube. Apply steady pressure and move carefully, but swiftly, across the taped-off sections. Clean the tip of the caulk in between lines.
When you are done, wet your finger with water and run it along the caulked lines. This will help to clean them up and smooth them out. You may need to clean your finger and re-wet it from time to time. When you are done, remove the tape and allow the caulk to dry according to manufacturer guidelines.
Have a question or comment for Joanne? Email her at thefixisinhawaii@gmail.com.

