Writing about home improvements has me constantly on the lookout for ways to improve my own home. While it is just not feasible for me to tackle all of the projects I would like to, I tend to live vicariously through others. I enjoy watching and learning about exciting make-overs on home and garden television channels and magazines. I also indulge when my friends and relatives take on projects in their own homes.
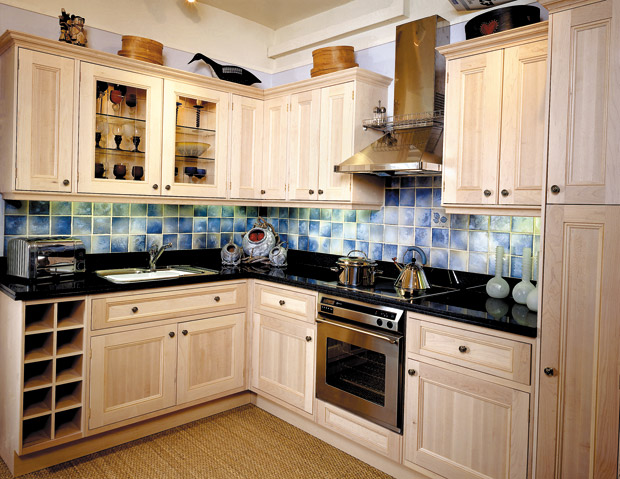
My sister has allowed me to enjoy her kitchen cabinet makeover. She moved into her home two years ago. The bones were great. The previous owners were the fi rst to inhabit the space, and they took good care of it. The problem, however, was that aesthetically it did not fi t her style. She had repainted the walls and redone the fl ooring. The kitchen cabinets were next on her list.
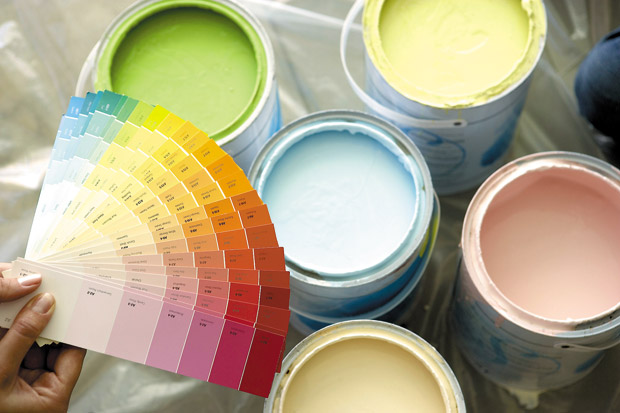
Because they were made well, the cabinets did not need to be repaired or replaced. They did, however, need a facelift that could be accomplished with a fresh coat of paint. The trick to getting a professional look is all in the preparation. If you want to tackle repainting your kitchen cabinets as well, consider some of her tips for getting your cabinets ready:
• Take everything apart at once, and put hardware in plastic bags. Mark the spot. Come up with a number scheme. (It can be easy; start with the No. 1 and move left to right.) Label cabinets with numbers using a small piece of masking tape on the back of each. When it’s time to hang them back up, you’ll know just where they go.
• Empty your cabinets and drawers completely. If you want to do it right, you will sand before you paint. The sanding will get everywhere, so save yourself the hassle of re-washing everything by taking it all out preemptively. Make piles on your floor, and mark each pile with the number of the cabinet or drawer where the items belong.
• Once everything is taken apart, clean it up. Your cabinets should be extremely clean before you begin. Use a grease remover. This will help to get rid of any oil on the door, allowing the paint to stick.
• Smooth it out. Sand any surface that will be painted using a medium-grit sanding block. After sanding, make sure to vacuum up any debris, and wipe down the surfaces once again. Now, your cabinets are ready to paint. When you have finished, you will be glad you put in the work prepping properly.
Have a comment or question for Joanne? Email thefixisinhawaii@gmail.com.