Creating wall art from plywood
Recently, I’ve been drawing inspiration from my friend, Chelsea. With a little girl under two and a little boy on the way, she is the epitome of Super Woman. Chelsea works full-time and yet still manages to spend quality time with family and friends and squeeze in projects at home. She and her husband built shelving, created works of art, and decked out their lanai. Chelsea’s latest project: creating wall art from plywood.
For this project, Chelsea used relatively inexpensive materials to create hanging art for her family room at a fraction of the cost a finished work of art would be. If you want to duplicate her work, follow these steps:
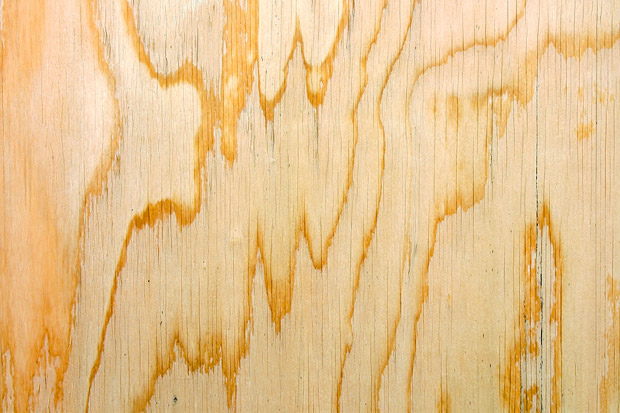
First, gather your materials. You’ll need plywood, sandpaper, stain, measuring tape, a pencil, painter’s tape, paint, a paintbrush and six D-ring hangers. For reference, Chelsea us ed dark stain and cream color paint. You can use paint that you already have, or purchase a sample size.
When purchasing your plywood, have someone at the store cut it to size for you. You will need at least three 24-inch by 40-inch rectangles, however, you can probably get more from one piece of wood. Chelsea paid $20 for a piece of plywood that she had cut into four rectangles, with two smaller pieces to set aside for future projects. She decided to use one of the rectangles as a practice board before moving on to the other three.
CHELSEA KENNEDY PHOTO CREDIT
Uses and paper to smooth the cut edges. If your plywood is new, you probably do not need to sand the whole thing. Then, apply the stain and allow it to dry thoroughly, according to manufacturer instructions.
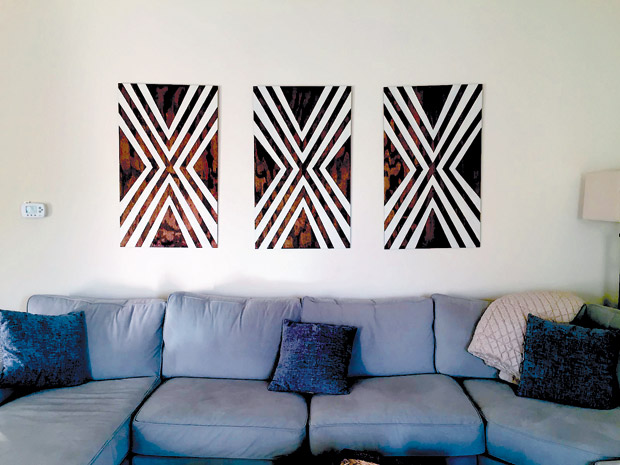
Next, use measuring tape and the pencil to find and mark the center of your board. Then, tape off an “X” going from one corner to the other, running the tape over the center mark and allowing the two pieces of tape to overlap. Continue the pattern going out from the X, leaving a gap the size of the tape width in between. (Measure the width of your tape and mark off the measurement.) Your tape pattern will look like greater-than or less-than symbols. Tape off two of these symbols on each of the four sides.
Now, you’re ready to paint. Use your paintbrush to go over the taped pattern. Allow the paint to dry completely between coats and then again before removing the tape. Next, attach two D-ring hangers to the back of each board, following manufacturer instructions. Your new art is ready to hang!
Have a comment or question for Joanne? Email thefixisinhawaii@gmail.com.